
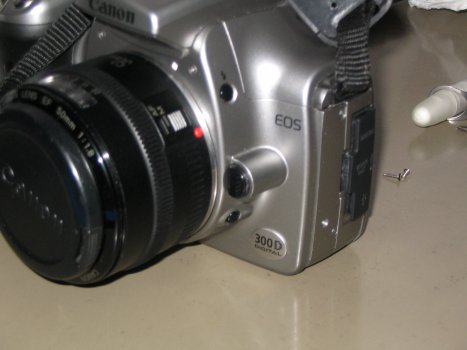
A few months ago my 300D (with around 12000 shots taken) failed and started making half of the pictures black.
At first I thought "there went the shutter", but after taking off the lens I saw that the secondary mirror, which gives light to the autofocus sensors in the bottom of the chassis, hadn't flipped up under the main mirror as it should.
The time before failure it had started crashing with Err99 more and more often, increasing to about every third picture in the end. Obviously it was unable to lift the main mirror, throwing the error code.
This turned out to be a relatively common failure on the 300D, more common than shutter failure. No warranty, it is 2,5 years old and bought second-hand.
Initally, I secured the secondary mirror under the main mirror with Blu-Tack, but then it of course lost autofocus capability.
I contacted a service workshop, and got a price estimate of around 200 euros for repair. This is just a bit too much since used 300D bodies cost around 400 euros today.
On discussion forums I got to know that the failure is only due to a plastic pin breaking, and it is possible to fix it yourself. So I set to work.
Disclaimer
This document not intended as an instruction manual.I take no responsibility for damage caused by performing these procedures.
A digital SLR is a sensitive piece of equipment and should not be serviced by untrained users.
This will undoubtedly void your warranty.
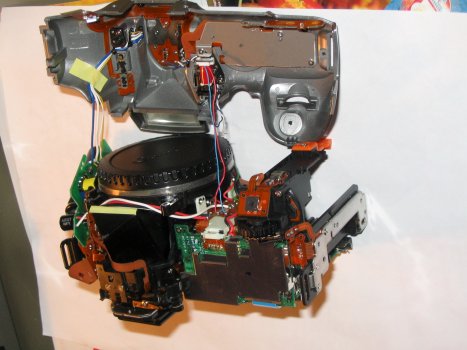
Side cover removed.
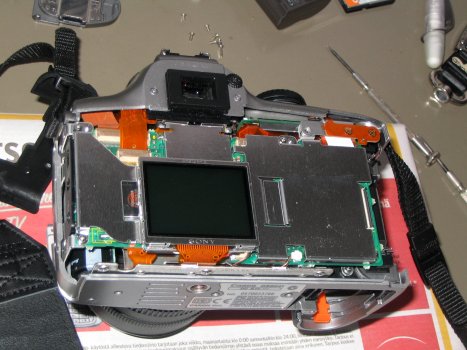
Back cover removed
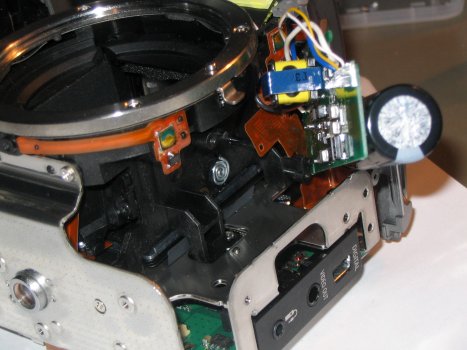
And the front cover off. On the right side of the lens mount, beneath the flash power supply board, is the broken pin.
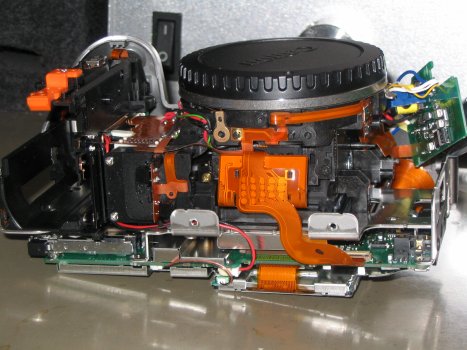
The large capacitor holds around 300 volts. Avoid touching its pins.
I accidentally touched it. "Slightly unpleasant".

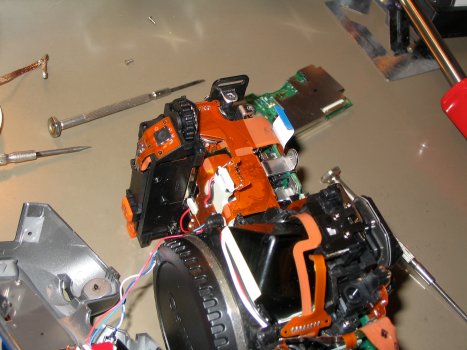
Flash power supply board removed from its mountings.
This would be easier by loosening the top cover, but that requires desoldering a few wires.
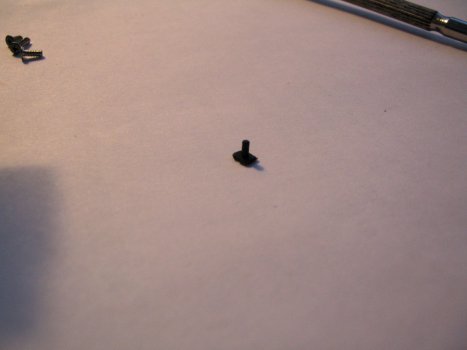
Here is visible in the left picture where the broken pin has been.
On the right picture, the actual culprit.
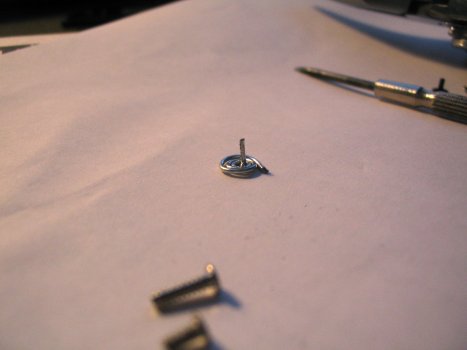
New pin fabricated out of steel wire, then glued into place with super glue. That's not going anywhere!
Story could have ended here
I assembled the camera, up to the point where I had the back cover hanging from its ribbon cable.Put the batteries in, and turned it on. Everything was working perfectly!
Assembled the rest, and switched it on again. This time - completely dead! No displays, nothing.
Disassembled it completely twice, cleaned all ribbon cable contacs with alcohol. Checked all the three microswitches. Still no action.
I started suspecting ESD damage, until I found a comment about fuses.
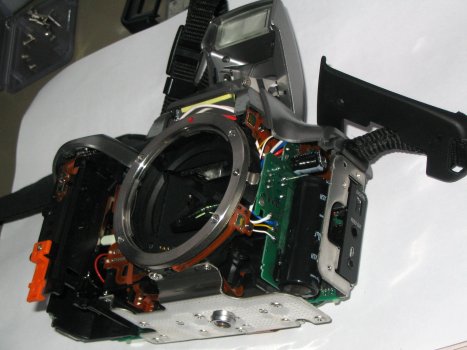
Bottom, with the steel plate for the tripod mount removed.
The red rectangular area under the lens mount is the AF sensor assembly.
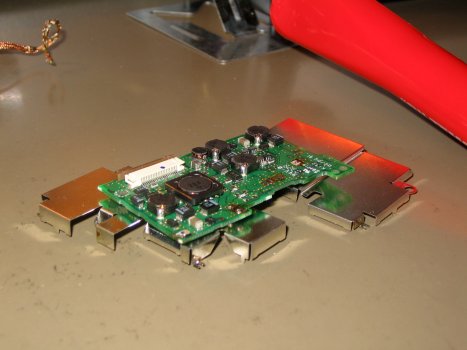
Removing the DC/DC converter, located just beneath the power switch/mode wheel.
In retrospect, it would not be necessary to desolder the board to get to the fuses.
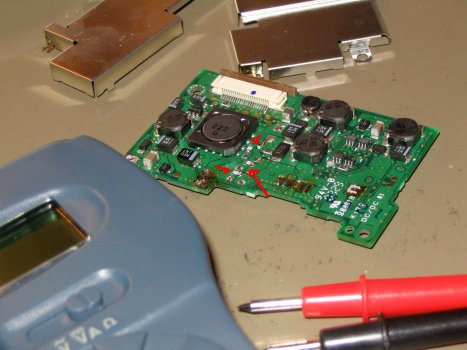
Covers removed. On the right picture the three surface mount fuses are marked with red arrows.
Only the middle fuse was burned (larger arrow). There are already secondary pads to solder in a replacement fuse, but I decided to just solder a jump wire, for these reasons:
I had no way of telling if only the fuse was burned, entire board could be scrap.
The fuses are not marked in any way (only P and K), so finding the correct rating could require many replacements.

Assembled it (completely this time) and insert the batteries. Nervously flip the power switch... and... Success!
Everything works - displays, all buttons, viewfinder, metering and autofocus!
Apparently, the power switch is only a "software" switch.
The boards are live as soon as it has the main battery in... you should never put the battery in until the camera is fully assembled!
I have really learned a lot about the Digital Rebel from this, and I would not hesitate to replace the shutter myself if/when it fails.
References
Canon Digital Rebel 300D IR Filter Removal Modification and Peltier Cooling Plans -by Gary Honis300D parts diagram and service manual (Canon)